 Save Pin
 The first time I attempted a Rosé Velvet Cake was on a lazy spring afternoon, the kind where the breeze coming through the kitchen window carries a hint of celebration. The distinct aroma of rosé mingling with cocoa was a complete surprise, and as I swirled pink batter in my favorite mixing bowl, I couldn’t help but grin at the sheer prettiness of it all. This cake has since earned a spot as my secret weapon for bridal showers and any day that deserves a bit of sparkle. The gold drip, I’ll admit, made me nervous, but I quickly learned perfection isn’t required when friends are around to ooh and ahh. And every crumb speaks of soft textures, blushing layers, and a little sense of occasion.
The first time I baked this for a close friend’s bridal shower, we ended up telling stories in the kitchen as the cakes cooled, sneaking tastes of the frosting with giggles echoing over the hum of the mixer. That afternoon, laughter seemed to settle into the layers along with the delicate blush of the crumb. Serving it felt a little like giving a gift stitched with memories. It even inspired an impromptu miniature bouquet-tying session at the table, prompted by edible flowers and enthusiasm. We decided the gold drip was just the ‘veil’ this cake needed to walk into the party.
Ingredients
- All-purpose flour: Go for a lighter touch when measuring; too much can make the cake dense instead of velvety.
- Granulated sugar: Creaming it well with butter introduces air for a delicate crumb.
- Baking soda & baking powder: Both are crucial for lift, so don’t skip or skimp.
- Salt: Just enough to boost flavor, never overpower.
- Unsweetened cocoa powder: Even a small amount imparts depth and balances sweetness.
- Unsalted butter: Softened but not melted for the fluffiest result—take it out well before starting.
- Buttermilk: Adds tang and tenderness; room temperature is key to avoid lumps.
- Rosé wine: Trust it—the subtle flavor shines through; use one you’d happily sip.
- Large eggs: Room temp helps them blend smoothly for a unified batter.
- Vanilla extract: Anchors the flavors with warmth; real extract is worth it.
- White vinegar: Activates leaveners for extra lightness; don’t second guess it.
- Pink food coloring gel: Gel types create a vibrant blush without thinning the batter.
- Cream cheese: The tangy base for the dreamy frosting; always let it soften fully.
- Powdered sugar: Sift to ensure a perfectly smooth frosting—no lumps allowed.
- Heavy cream: Makes the gold drip luscious and workable; use fresh for best shine.
- White chocolate chips: A silky, sweet foundation for painting on edible gold.
- Edible gold luster dust: The glamour—just a little goes a very long way.
- Vodka or clear extract: Blends with luster dust for a smooth, dry finish after painting.
Tired of Takeout? 🥡
Get 10 meals you can make faster than delivery arrives. Seriously.
One email. No spam. Unsubscribe anytime.
Instructions
- Prep the pans:
- Grease and line three 8-inch pans, smoothing parchment into the bottoms and sides so nothing sticks. Preheating to 350°F sets the stage for even baking and sharp layers.
- Sift and mix dry ingredients:
- Stir together the flour, cocoa, baking soda, baking powder, and salt; I love the puff of cocoa dust as I whisk. Sifting ensures there are no sneaky lumps hiding in your cake.
- Cream butter and sugar:
- Beat butter and sugar with your mixer until light and fluffy; you’ll see the mixture turn pale and pillowy which means air is being whipped in. The hum of the mixer and the slow transformation always feels a bit magical.
- Add eggs and vanilla:
- Crack eggs in one by one, pausing to scrape down, and then pour in vanilla—your batter will look smooth and glossy at this point. Mixing too much here is tempting, but trust me, just blend until it’s incorporated.
- Mix in liquids and dry ingredients:
- Stir in buttermilk, rosé, and vinegar on low speed, then add dry ingredients gradually for a batter that feels satin-like on the spoon. Don’t overmix—stop once the flour disappears for tender cake.
- Tint the batter:
- Add a touch of pink gel coloring at a time until the blush pink makes you smile. Too much can overpower—start small and adjust as needed.
- Bake:
- Divide batter evenly into pans and smooth the tops; bake for 30–35 minutes until a toothpick slides out clean with a few moist crumbs. The kitchen will smell sweet and just a tiny bit floral as the cakes puff up.
- Cool completely:
- Let cakes cool in their pans for 10 minutes before telling yourself not to rush unmolding—patience helps them release cleanly before turning onto wire racks.
- Make the rosé cream cheese frosting:
- Whip the butter and cream cheese together until velvety, add powdered sugar gradually, then blend in rosé, vanilla, and salt; you’ll see the frosting become frothy and airy. Lick the spatula (or not, if guests are near).
- Assemble and frost:
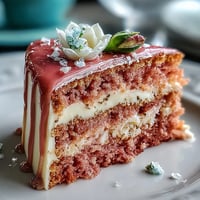
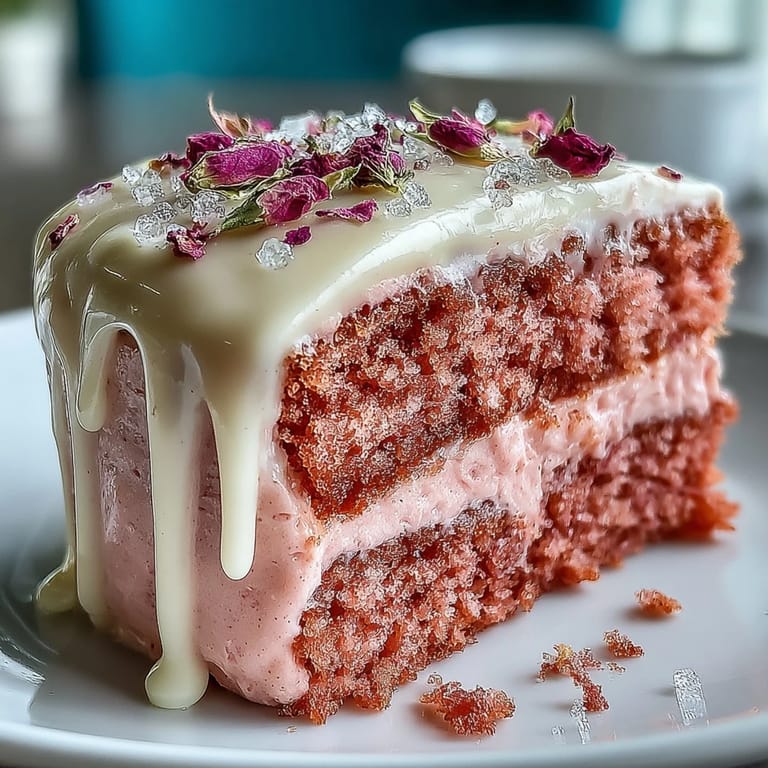
- Level cake layers if needed, then stack and spread frosting between each, crumb coat, chill, and finish with a swoop of final frosting for those signature swirls. Chilling makes it all set for decorating.
- Prepare the gold drip:
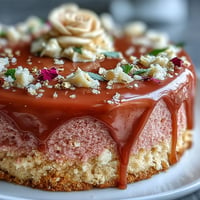
- Melt white chocolate chips and heavy cream until barely smooth, then cool so it thickens just enough to pool slowly down the side. Drip over chilled cake edges from a spoon or bottle—let it cascade!
- Paint the gold:
- Mix gold luster dust with vodka or clear extract, then with a food brush, paint over the chocolate drip—take your time, enjoy the transformation. The shine intensifies as it dries.
- Chill and serve:
- Refrigerate the finished cake for at least 30 minutes to let everything set. Slice and serve with sparkle in every bite!
 Save Pin
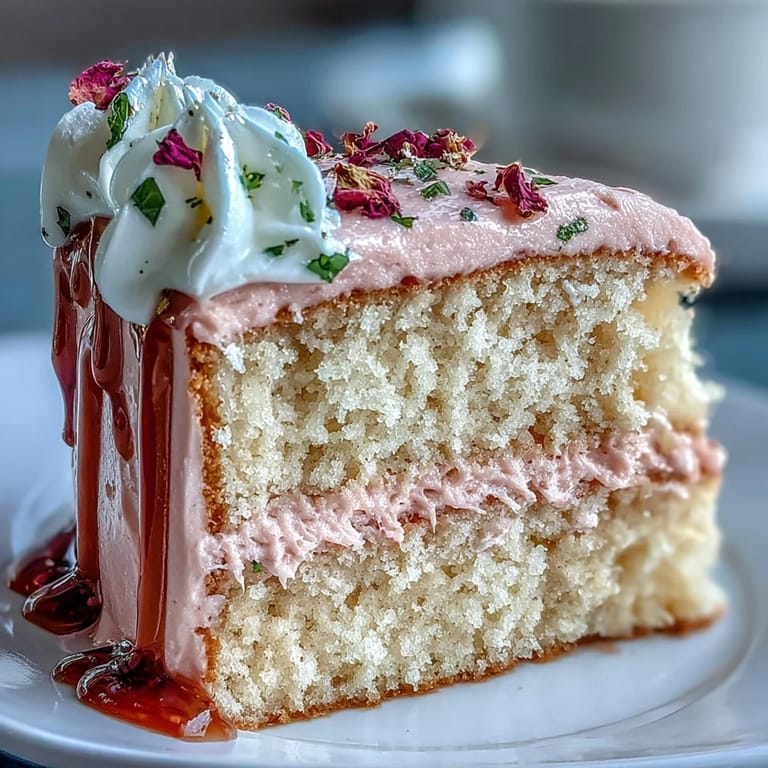
 The night before my sister’s engagement, we cut this cake by candlelight, music playing quietly, with her ring sparkling almost as much as the golden drips. That moment turned a regular Thursday into a memory we still laugh about—cake crumbs, good company, and a hint of rosé magic.
Making Your Rosé Color Pop
I learned it’s best to start with less pink food gel than you think; the color deepens the longer it sits, and a soft blush looks elegant. If I want a little more drama, an extra dot or two gives a true celebration vibe without overdoing it. The right shade turns the cake from pretty to unforgettable. Remember to check the color in natural light for accuracy. Sharing photos later, you’ll appreciate that gentle, warm hue.
Decorating With Gold Drip Confidence
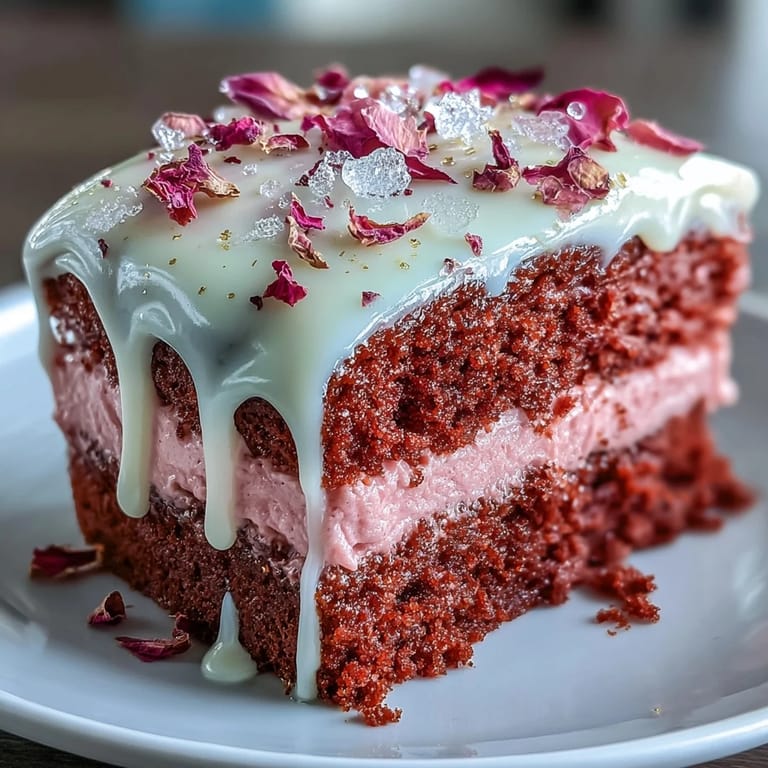
The first time I painted gold on this cake, my hands shook a little, but it turned into the most satisfying part of the whole process. I use a small brush and light strokes for delicate lines, letting the chocolate guide me. Even if the drip isn’t even, the gold highlights will bring it all together. A soft background playlist helps, turning it into a mini celebration. Any imperfections always make for better stories at the table.
Ways To Dress It Up For The Party
Once the gold drip sets, topping the cake with edible flowers, a scatter of berries, or a little leaf of actual gold brings full bridal energy right to the dessert table. Each time I try new decorations, the look changes just enough to keep guests guessing. Arrange toppings after the cake is chilled to keep them crisp and colorful.
- If the cake feels too sweet, serve with a little extra rosé on the side.
- Stacking the layers when they’re fully cool prevents sliding disasters.
- Let the cake sit at room temp 20 minutes before serving for the best texture.
 Save Pin
 Enjoy every blushing bite and let the gold drip steal the spotlight—it’s more than a cake, it’s an invitation to celebrate together.
Questions & Answers
- → How can I boost the rosé flavor without making the batter too wet?
Brush the cooled layers lightly with reserved rosé wine or a rosé syrup just before assembling. Add the liquid sparingly and use a pastry brush to control absorption so the crumb stays tender without becoming soggy.
- → What's a good non-alcoholic substitute for rosé?
Use sparkling white grape juice or a concentrated grape reduction in equal measure. Both add the fruity note without alcohol; reduce slightly if using a syrup to avoid over-moistening the layers.
- → How do I achieve a consistent blush-pink crumb?
Use gel food coloring a little at a time and fold gently into the batter for even distribution. Gel gives stronger color with less liquid; stop when you reach a soft blush to keep the velvet appearance.
- → How do I get a smooth, shiny gold drip?
Heat white chocolate and cream until smooth, cool to just-warm, then apply a small test drip. Once set, mix edible gold luster dust with a little vodka or clear extract and paint the cooled chocolate drip for a reflective finish. Work in thin layers for the best shine.
- → How can I prevent the cream cheese frosting from becoming runny?
Start with fully softened but not warm butter and cream cheese, beat until smooth, then add sifted powdered sugar gradually. Chill the crumb-coated cake before final frosting to keep the assembled layers stable and the finish tidy.
- → What is the best way to store and serve the cake?
Refrigerate the cake in an airtight container for up to 3 days. Remove from the fridge 30–45 minutes before serving to let the frosting soften and the flavors come forward; garnish just before serving for the freshest presentation.